 Co-financed by the European Union
Installing click laminate or Aquafloor flooring
Installing a new flooring is one of the most effective ways of lending a new look to a space. Today there is a big choice of laminate and PVC flooring available in a wide range of colours and textures. Our Krono laminate flooring is durable, offers a very authentic look and is perfect for all dry areas. Aquafloor and Aquafloor Plus are made of 100% virgin PVC. Available in a wide range of wood and stone decors, these products are the perfect flooring solution, especially for wet areas like kitchens and bathrooms.
With the practical 'click' system of laminate and PVC flooring, installing a brand new flooring just takes some basic woodworking tools and careful planning - here's how!
What you'll need:
(follow link to find these products in our shop section and order online)
- Your chosen laminate or Aquafloor flooring - LINK
- Parquet installation kit - LINK
- Plastic / soft faced hammer - LINK
- Jigsaw or cross cut
- Square angle ruler - LINK
- Variable angle ruler - LINK
- Silicone gun - LINK
- (Optional) Hammer for nailing skirting profiles
Preparation:
Ensure floor is level. Scrape and clean any lumps of plaster, cement etc. from floor and from wall perimeter and sweep or vacuum debris. For a neater finish, trim door frames to the height of new flooring plus any underlay to install flooring beneath these. Ensure doors have sufficient clearance over new flooring. If not, these will need to be raised using spacers or cut.
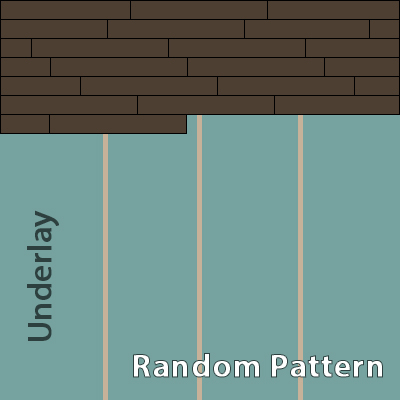
Planning and laying of underlay:
Decide on the layout of the flooring in the room. Flooring panels should ideally be laid out lengthwise toward the light source, towards the length of the room or towards the point of interest in the room (bedroom - towards the bed, etc). However, exceptions can be made for the better design of the specific room. Unroll the underlay again stone wall and cut to size, leaving an excess of approximately 30cm each side. Lay the next sheet of underlay next to this one and bind together using packing or masking tape. Ensure no creases or bumps are present. Carry on laying the underlay until the room is covered.
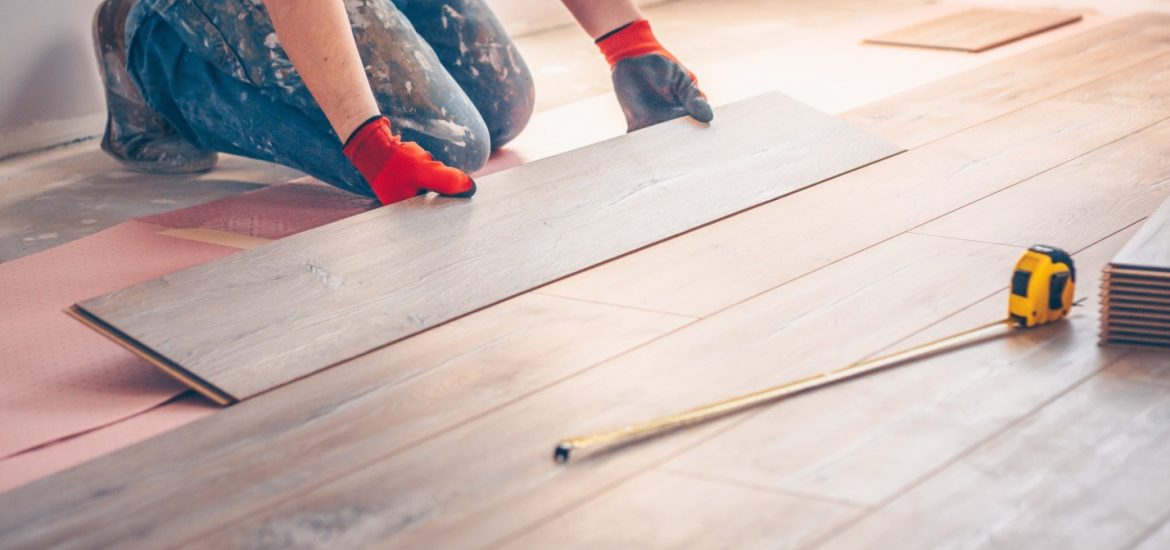
Installing the flooring:
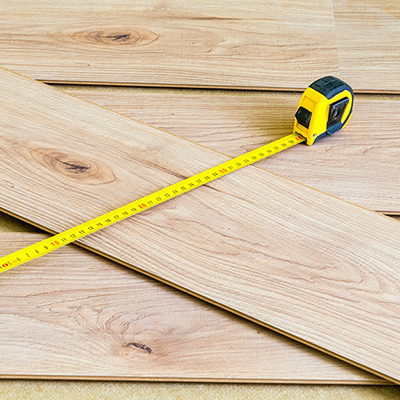
Measure the length of the room and the length of the panel of flooring to plan how many panels will fit lengthwise and ensure that the last panel will not need to be cut very small. If this turns out to be the case, start with a cut panel to balance out the length of the first and last panel in the row. Lay down the first panel against the wall, using the spacer wedges to keep a 10mm distance from the wall, both length and width wise. Lay the next panel lengthwise, clipping this into the first one. If necessary, tap this panel towards the first one using the tapping block and soft face hammer, to ensure a closed joint.
Carry on laying panels lengthwise until you reach the end of the room. Measure the remaining space to the wall, keeping in mind the 10mm expansion gap which should be left against the wall. Cut a panel of parquet to the measured length and fit in place. If necessary, use the pulling iron to pull the last panel and ensure a tight, closed joint.
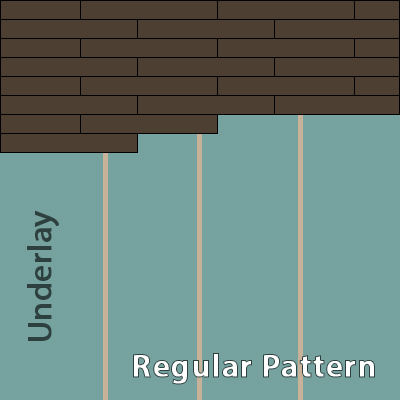
Start the next row with a panel approximately half the length of the previous first panel creating a staggered joint. Carry on laying full panels and cut last panel to fit as in previous row. A staggered joint will ensure a very stable flooring is installed. The 3rd row should start as the first one did and the 4th row as the second and so on. This will keep a regular pattern throughout the whole room. Flooring may also be laid with a random pattern. This method will result in less waste as most pieces may be reused at some point. The important thing is to only use pieces of at least 30cm to start and finish with, to avoid having very small pieces at the start and end of rows.
To install the final row, panels will need to be cut to the width remaining, keeping in mind the 10mm expansion gap. Panels in this row should be tapped inwards using the soft faced hammer and the pulling iron.
_
Finishing the flooring
Once flooring is completely installed, remove all spacer wedges from the perimeter of the room. Install skirting board around the perimeter of the room, using an acrylic based construction adhesive or thin nails . Corners should be cut using a 45° mitre. A variable angle mitre saw is ideal for this job since not all corners are 90° and sometimes a bit of modification to the angle must be used. Once adhesive has dried, a wood coloured acrylic sealant may be used to seal corners and joints of skirting for a neater finish.
Install stainless steel, aluminium or MDF wood decor finishing profle at doorways and in between rooms using clear silicone sealant.
Useful Tip